When it comes to piecing together a quilt top, half rectangle triangles don’t always get the same love as half square triangles. To be honest, they are harder to match and there is a mathematical reason for that.
Geometry Class
You may remember your days in Geometry class and you may have wanted to forget them forever, but it’s always good to have a little refresher to why some (or all, shh!) of your quilting is actually mathematical.
If you don’t want a refresher, you can jump to the directions for making and trimming your Half Rectangle Triangles correctly! Just scroll down to Half Rectangle Triangles 2-at-a-time!
Right triangles
A right triangle is any triangle with one angle that is equal to 90 degrees. They are a big help when it comes to quilting because they fit together nicely with other polygons. A polygon is any closed shape with straight sides, made up of many interior angles. Other examples of polygons are: rectangles, pentagons, hexagons, and dodecahedrons. Some of these you would use more than others in your quilting, and this list isn’t exhaustive!
A little secret about bigger polygons… you can fit triangles inside of them. Try it!

Not all Right Triangles are the Same
Half Rectangle Triangles are a little trickier because not all right triangles are the same.
Half Square Triangles fit inside a square which means that some sides are the same length, making them Isosceles Triangles. Does that name ring any bells? Now are all three sides equal? No, two sides are equal: the sides that are on the outside of the square. Those sides would actually be the triangle’s legs. The diagonal side is a little longer, it’s the triangle’s hypotenuse. I just offered those definitions for the really nerdy quilters among us!

Do you remember the difference between a square and rectangle? Of course you do! Squares are made up of four equal sides, all having the same measurements. Rectangles have two pairs of equal sides, those pairs are parallel to each other.
As I have hopefully led you to deduce, Half Rectangle Triangles are not made up of Isosceles Triangles, but they are still made up of Right Triangles and have two 90 degree triangles. They have different length sides because they fit into a rectangle. You’ll see that the images below look a little taller, right?

Why This Matters to Our Quilting
If you piece together a Quilt Top with Half Square Triangles, they are nice and easy because the angles match up, especially when you are piecing them together with other half square triangles and other four sided polygons. You don’t have to worry about matching angles and seams more than on a regular day. You simply trim them to be a square. Half Square Triangles are a little simpler because they have those two equal sides of their triangles and when you meet them with 1/4″ seam allowances on both sides, their diagonals will run right into the middle of your 90 degree angle.
Half Rectangle Triangles need to be offset, meaning that we need to trim them so that we can meet their angles correctly. If we simply trim them into their rectangle with the diagonals meeting into the middle of the 90 degree angle, they will look like they don’t fit. You can try it on your own, but I want to save you the heartache with this one and give you the skills to prep your Half Rectangle Triangles for piecing. Here is an example of what can happen when you trim them into their rectangle and then piece them together with a 1/4″ seam allowance:
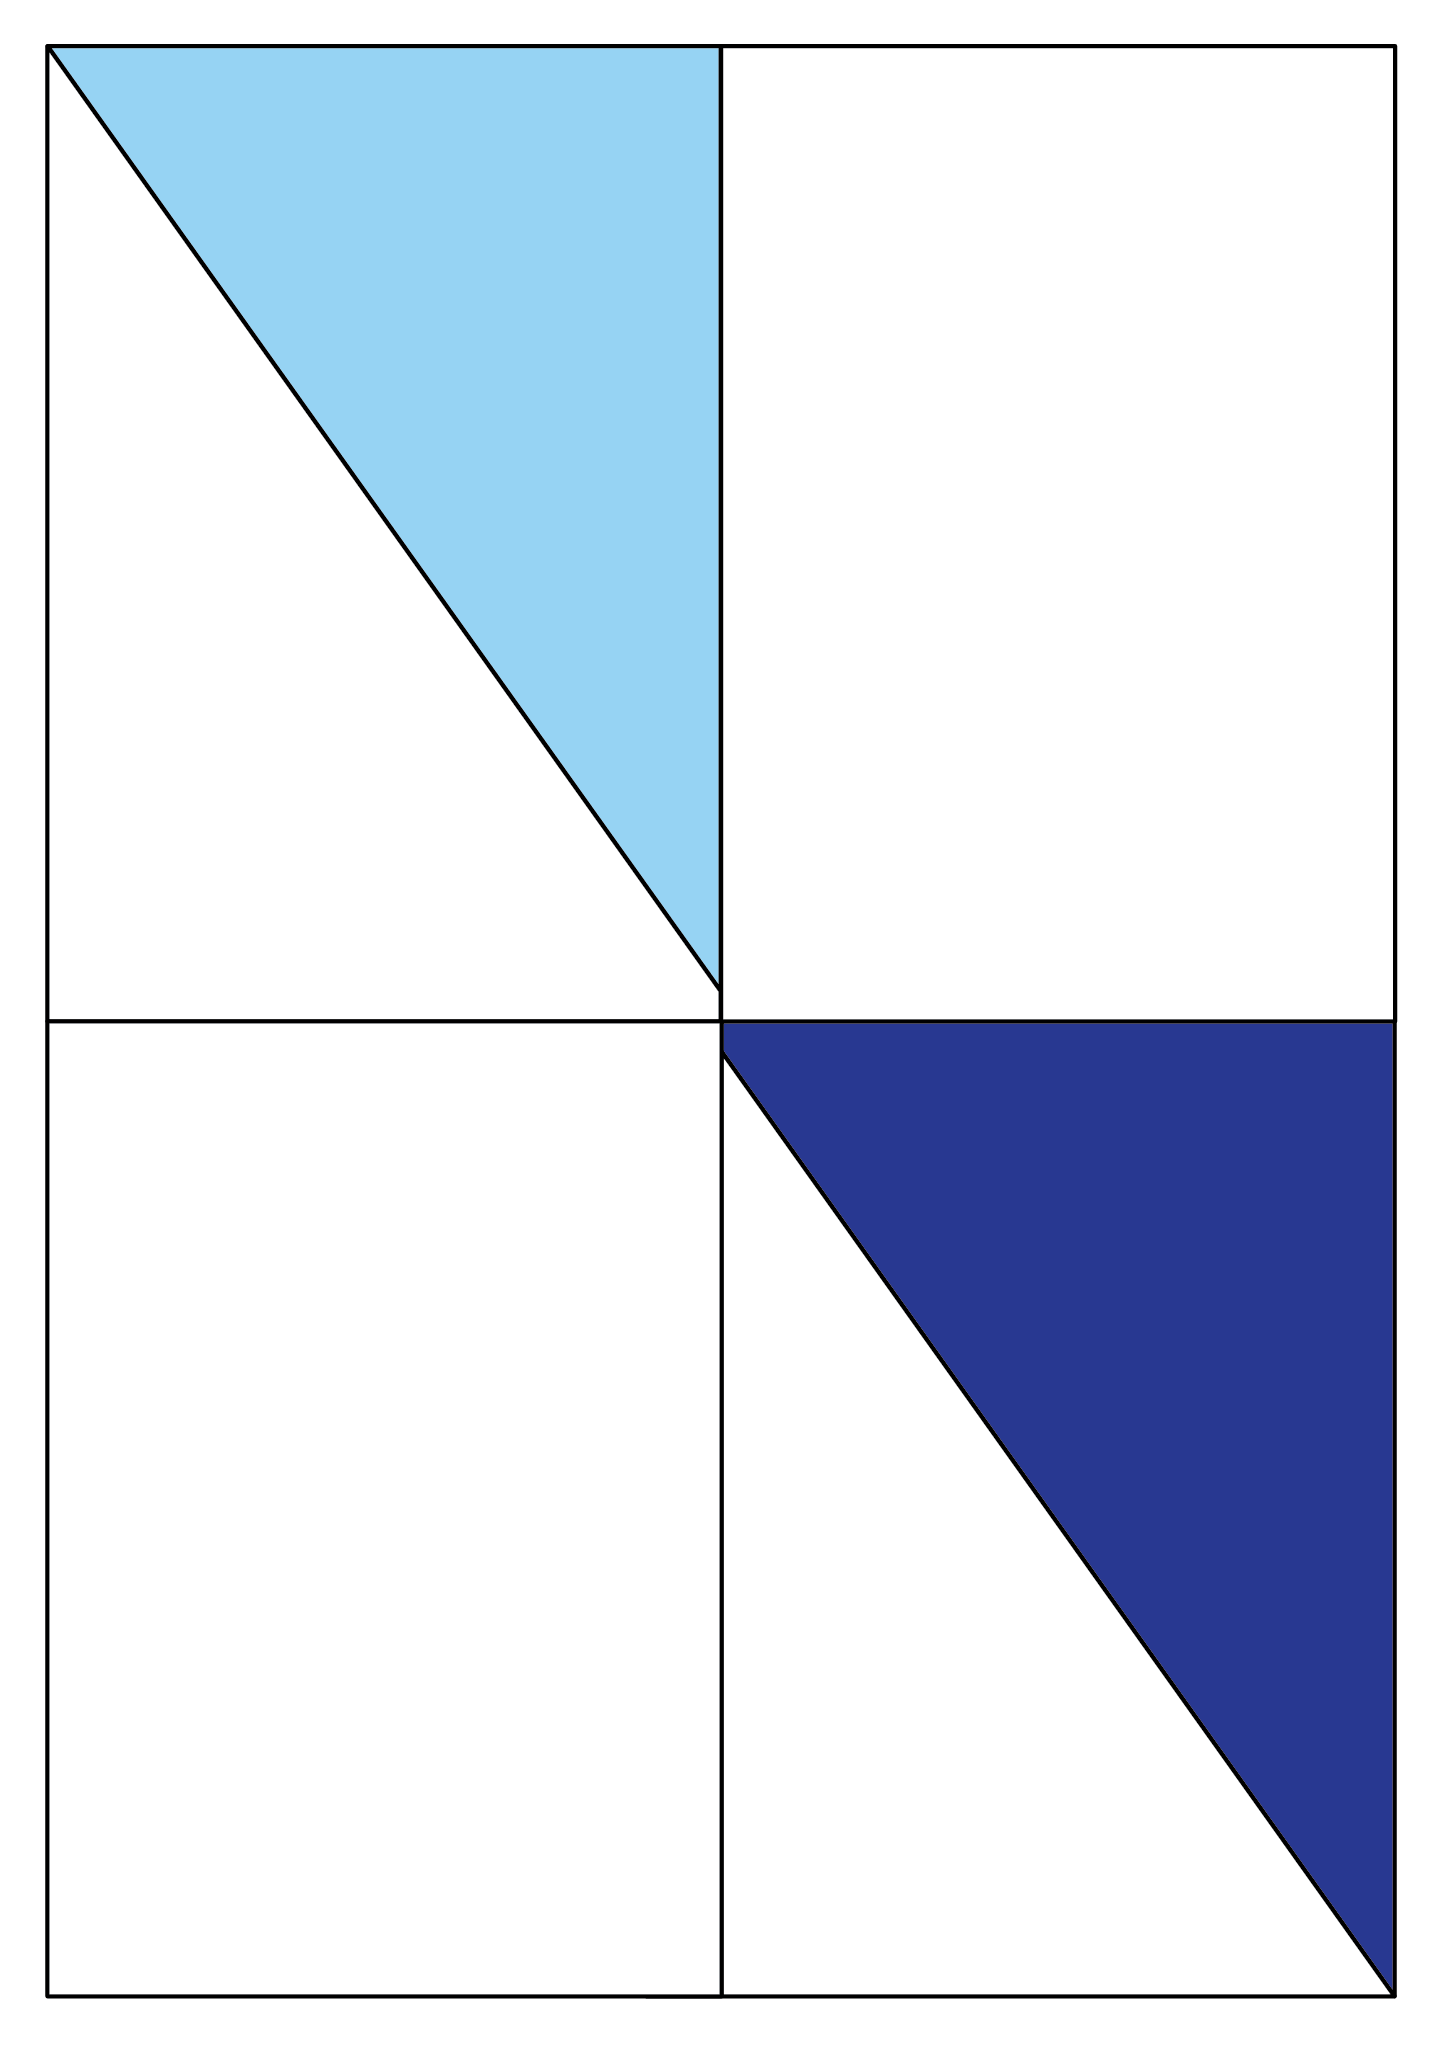
Trimming method: trimming with the diagonal running into the corner of your rectangle.
After spending time piecing and trimming your blocks, this is not what you want to end up with, right? It’s a big disappointment when things are wrong and you don’t know why!
My Sunset Sail Quilt pattern has only a few Half Rectangle Triangles which work together to form the sail of the sailboat. Because it is a Full Size Quilt, I want to do a little Half Rectangle Triangle warmup for this so that we can practice before adding them to something with such large strips!
Half Rectangle Triangles 2-at-a-Time
Our goal is to make our Half Rectangle Triangles big so that we have enough room to trim them. We will start with two 4 1/2″ x 6 1/2″ rectangles. During this tutorial, I will refer to the Half Rectangle Triangles as HRTs.
Gather one 4 1/2″ x 6 1/2″ rectangle and draw a diagonal line on the back:

Place fabrics right side together, aligning the drawn line with the corners of the bottom rectangle, as shown:

Pin in place and sew a 1/4″ seam on both sides of the drawn line.
Cut on the drawn line to make (2) Half Rectangle Triangles.

Half Rectangle Triangle Trimming
Once you have made your HRTs, it’s time to trim them.
Prep Ruler
On a quilting ruler, mark a 3 1/2″ x 5 1/2″ rectangle with washi tape as shown. Circle the 1/4″ dots/markings on the ruler for reference, using a permanent marker.
Reference points or coordinates for markings on our 3 1/2″ x 5 1/2″ rectangle:
- 1/4″, 1/4″
- 1/4″, 3 1/4″
- 1/4″, 5 1/4″
- 3 1/4″, 5 1/4″

The ruler above has two washi tape markings for both sizes of the HRTs in the Sunset Sail Quilt, but for this warm up, you can simply mark the 3 1/2″ x 5 1/2″ rectangle and markings. It is the larger rectangle of the two.
HRT trimming
Take a HRT and line up the 1/4″ dots on the ruler with the diagonal of the HRT. You will either use the 1/4″, 1/4″ and 3 1/4″, 5 1/4″ markings together or
the 1/4″, 3 1/4″ and 1/4″, 5 1/4″ markings together.
You may need to angle your ruler to do this.
Once you are confident, you can trim your HRT.
Rotate the HRT and repeat the process for the other two sides of the HRT.
Trim all HRTs in this way.
HRT Trimming in Real Time
Check out this video of me doing it in real time (a little sped up).
I apologize for my lighting reflected in the ruler, I’ll get better at recording videos and catching these things ahead of time as I grow and learn.
Do you want to have a fun and fast project to make with your HRTs? There is a link coming soon for a small pillow or mini quilt top to use the Half Rectangle Triangles that you made during this warm up! Sign up for my newsletter below so it comes straight to your inbox!
Until next time, keep up with your geometry! <3 Kate