Looking for a way to finish some of the embroidery you have been working on?
I love to play around with fabric that I find, adding my own creativity and embellishment to it with hand embroidery. If you want to get some inspiration on how to do this, check out this article:
You can display projects like this in an embroidery hoop and then hang it on your wall or set it on a little book or photo stand for display throughout a particular season. Alternatively, you can make a simple project which centers on your creativity.
The Hand Embroidery
I like to use fat quarters from my local quilt shop when choosing fabric for hand embroidery. It gives me a good size, but not too much extra fabric. I can use it for one big project, or a few smaller projects.
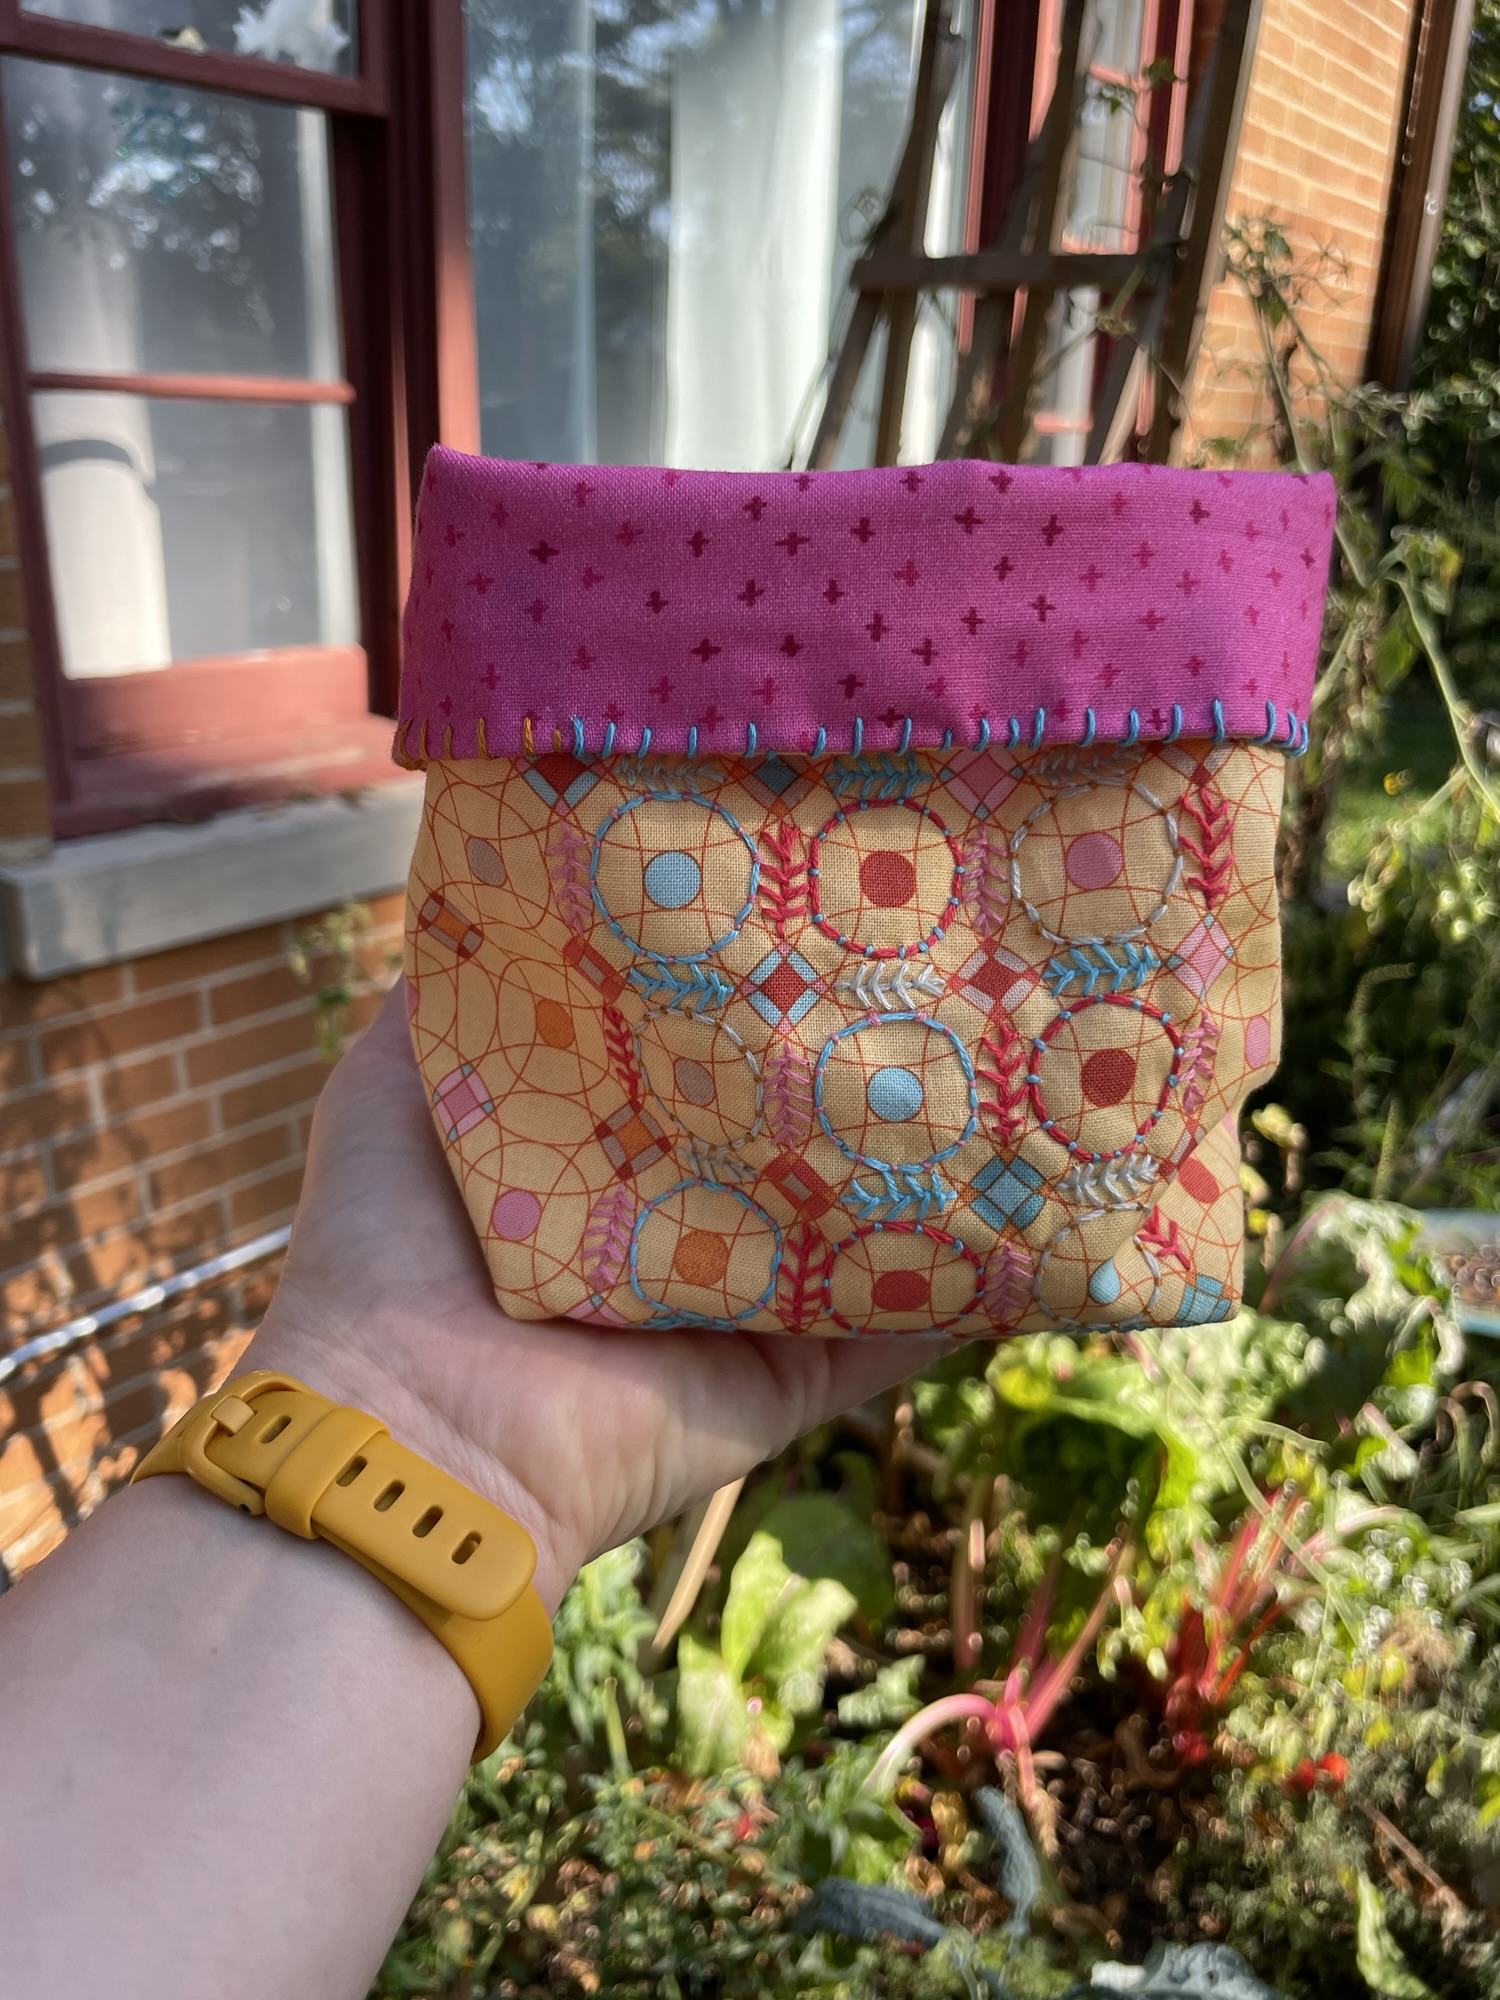
Starting with a fabric with a repeated geometric design is a good way to figure out where you want your design located when you are making something like this fabric basket. With this particular fabric, I focused on a simple grid of 9 circles and based my embroidery on those 9 circles, playing off of each circle with color and only a few different stitches.
Here are the stitches I used for the embroidery:
Couching & Thorn, otherwise I let the fabric, color, and rhythm shine through with this project.

Fabric Basket
You can make your fabric basket any size that you want. The simplest way to do this is to center your design at the front, towards the bottom of the outside fabric as you cut it out. There is about 3 1/4” above my embroidery in this project.
Cutting your Fabric:
2 Squares of your Embellished Outside Fabric: (2) 10” x 9”
2 Squares of Lining Fabric: (2) 10” x 9”
Boxing the Bottom:
- Layer Outside Fabric RST and Lining Fabric RST.
- Mark a 2” Square in both bottom corners and cut out. Repeat for both sets, outside and lining.
- Pin sets together. Using a 1/4” seam allowance, sew sides and bottom of each set making sure to leave the tops open. Backstitch at the beginning and end of each line.
- With your Outside Set, open up a bottom square and match side and bottom seams together. Sew your boxed bottom closed with a 1/4” seam allowance, backstitching to lock stitches on both sides. Repeat for other corner.
- Repeat Step 4 for your Lining Set and both boxed corners.
Sewing Basket Together:
- Turn Lining Right Side Out and place into the Outside piece, matching seams together at the sides of your bucket.
- Using pins or Wonder Clips, clip together making sure to leave a 3” opening for turning out at the end.
- Using the *arm of your sewing machine, sew a 1/4” seam in a circle, backstitching at the start and finish, leaving that opening.
*Most sewing machines can access the arm by simply pulling out the organization compartment that fits on the bottom of your machine. - Turn right sides out and use a point turner to poke out the boxed corners before fitting the lining into your outside fabric.
- Choose a way to close your opening, by topstitching with a 1/8” seam allowance all the way around your bucket or using a blanket stitch to close the opening by hand.
Check out this YouTube Video to see this process in action!
Until next time, keep on sewing! <3 Kate
3 responses to “Fabric Basket Tutorial”
Great Idea to use up some fabric scraps. Thank you for sharing and blessings always.
Mtetar at Basic Is Simple
It’s always a joy to use what you have well, I love that idea!
[…] own designs to fabric you already love, check out Embroidery on Fabric. If you haven’t seen my Fabric Basket Tutorial featuring Hand Embroidery, check it out! Now, it’s time for a new way to feature your […]