

As part of my Free Motion Doodling focus this month, I wanted to give you some easy projects in order for you to use your quilted panels and here is the first one- the IPAD zipper pouch.
This is a tutorial, which means it’s not written in the same detail as a pattern, but I will give you some hints and specifics. The good thing about a tutorial is that you can really start out with whatever size of panel you have. If this is something that is totally new to you, finding a pattern may serve you better.
Quilting the Panel
If you need some inspiration for Free Motion Doodling your quilted panel, you can find some right over here: Free Motion Doodling – Baby Goats

Prepping your Panel
When I started Free Motion Doodling the Baby Goats fabric, I didn’t know what I was going to do with it.
Deciding to finally make a zipper pouch for my IPAD helped to then think about what other fabric I wanted to use.
I had originally made my quilt sandwich with a bright yellow as the backing. I didn’t have a lot of scraps to coordinate the baby goats and bright yellow and so I decided to change my backing.
To do this yourself:
- Trim your quilted panel, I trimmed mine to: 11 1/2″ x 13″
- Choose your new backing fabric, same dimensions as the quilted panel
- Place your quilted panel right side down
- Layer your new backing fabric right side up to be the new backing
- Pin in place
- Sew around the new quilt sandwich with a 1/8″ seam allowance

Adding an Optional Pocket
You will notice that I also added a pocket to the back of my quilted panel. It was so easy and I used a leftover piece of my Alison Glass Shadow fabric bundle.
To make a pocket:
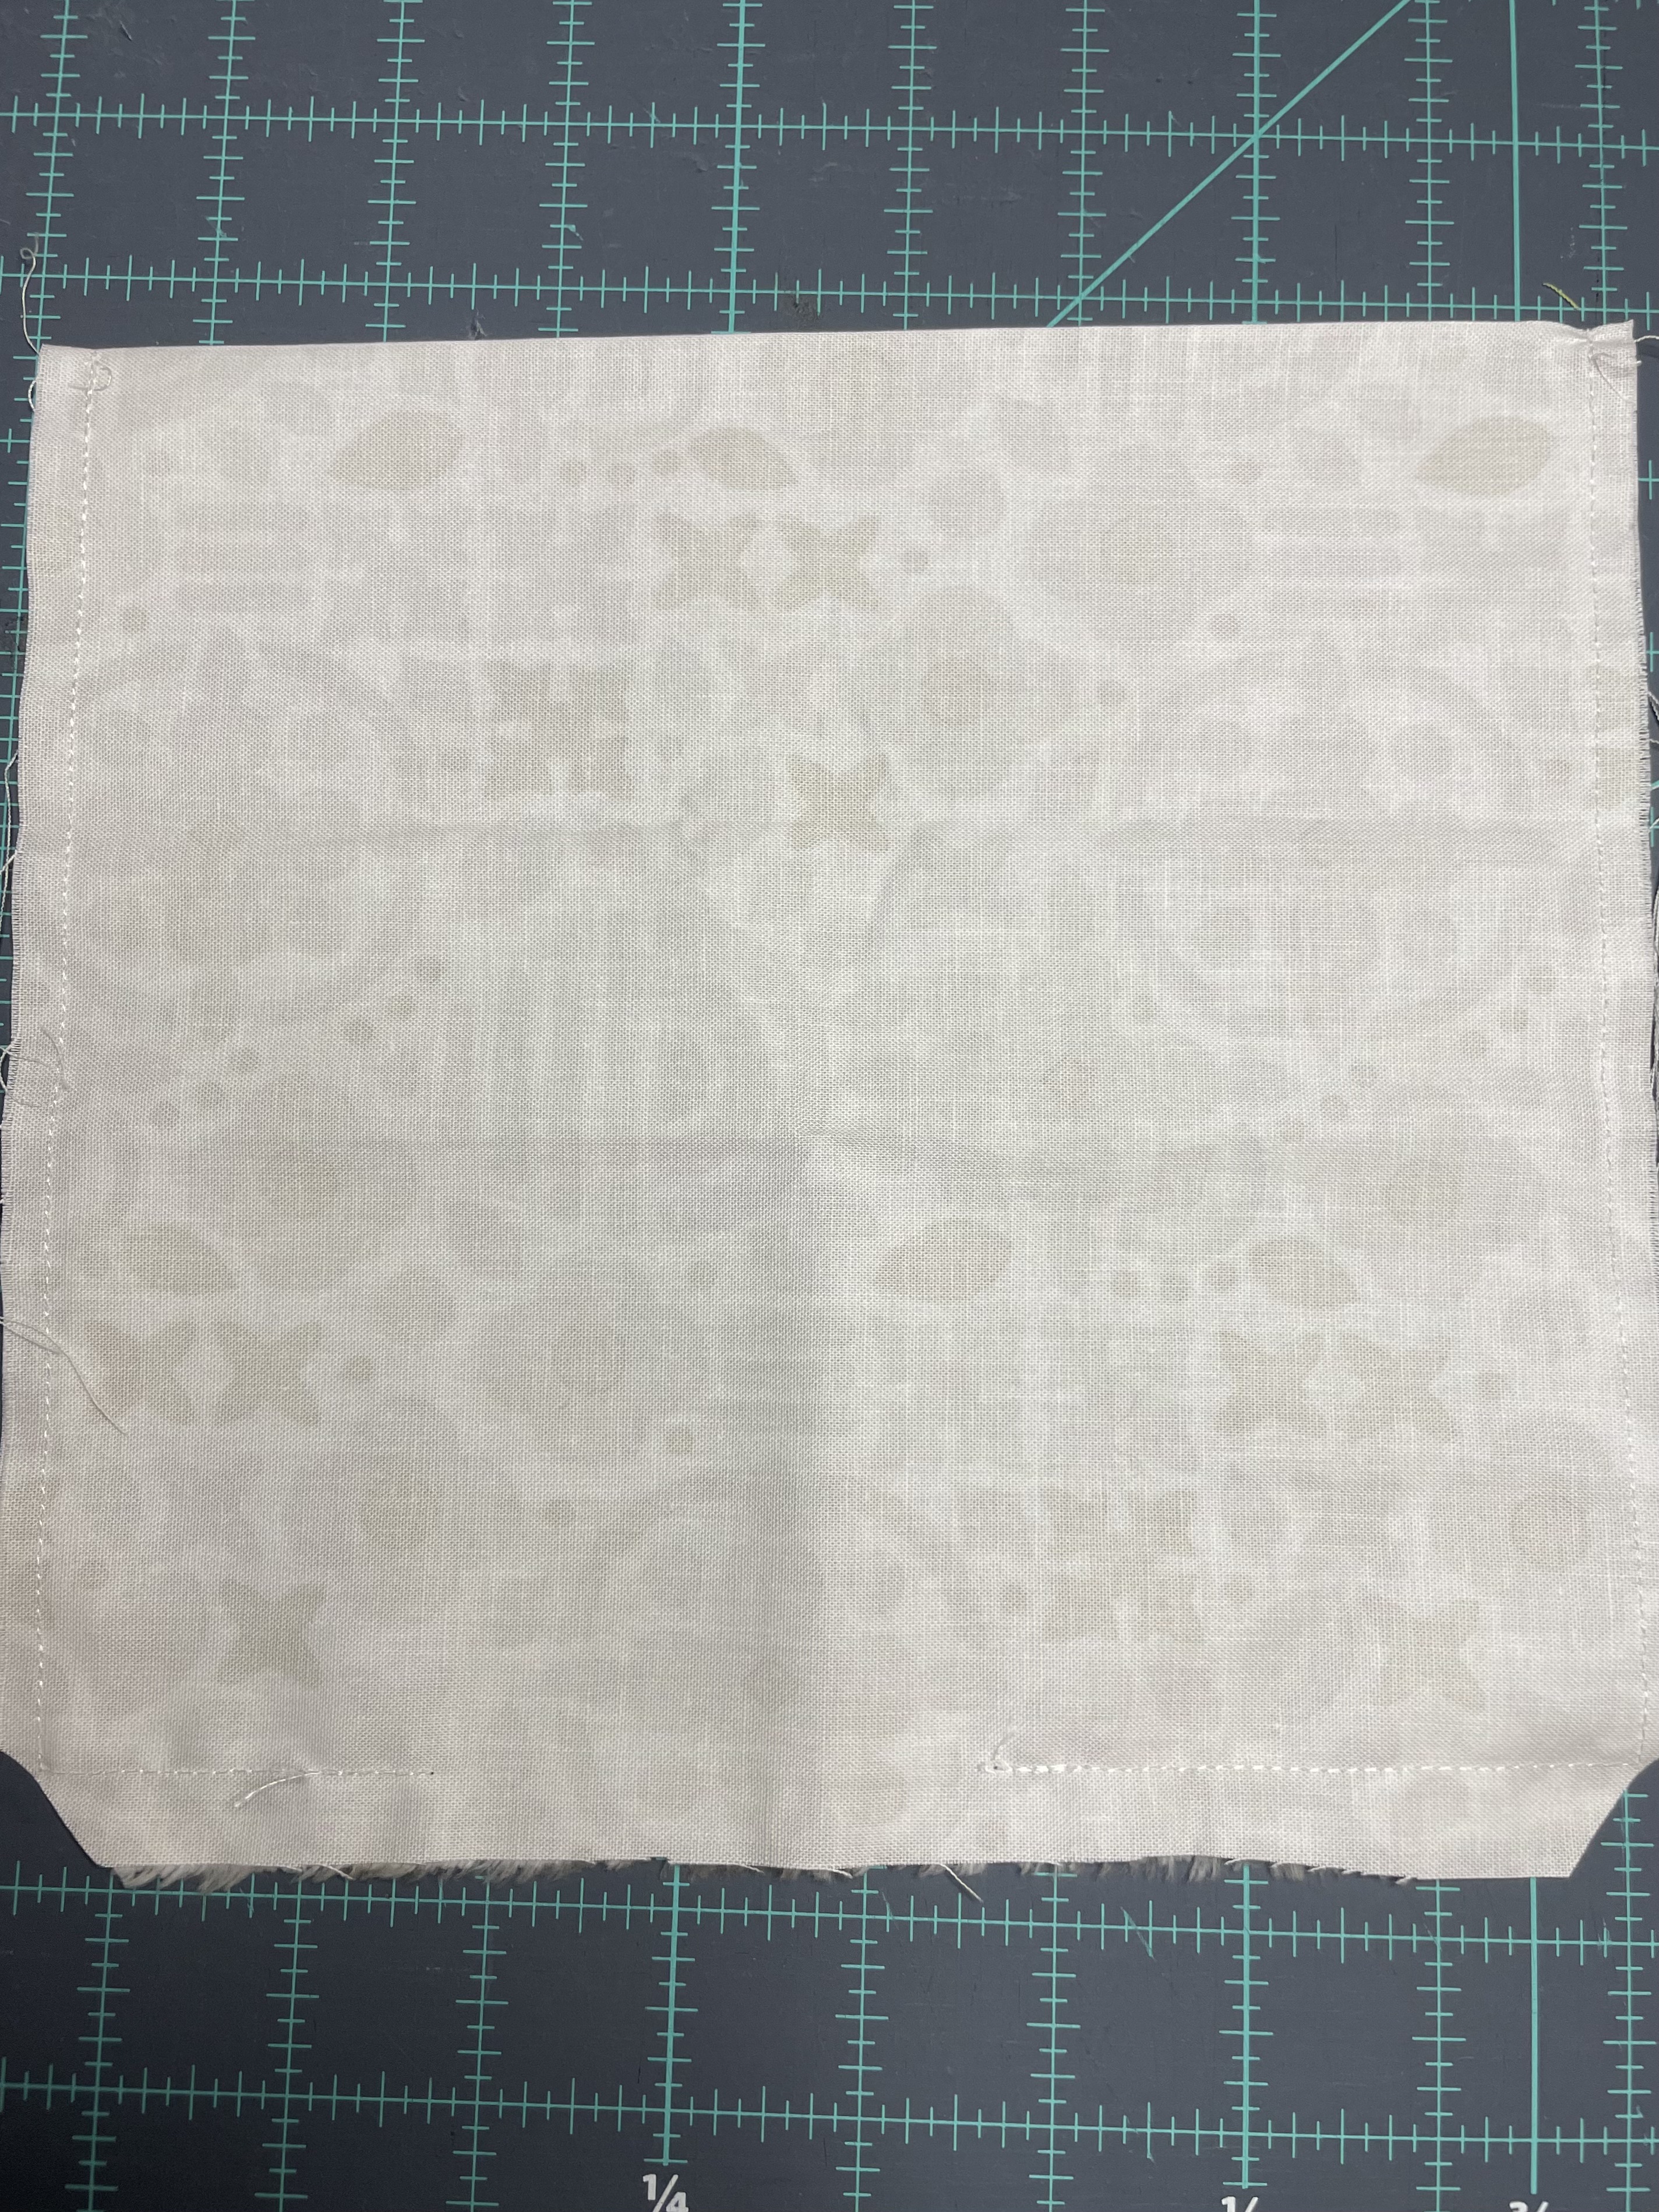
- Find a suitable scrap piece of fabric, mine was: 9″ x 18″
- Fold right sides together in half, this made my pocket: 9″ x 9″
- Sew around the open edges with a 1/4″ seam allowance, leaving an opening of about 3″ in the middle of the bottom
- Cut extra fabric in the corners at right angle carefully making sure not to cut into your stitches (see picture below)
- Turn right sides out and use a chopstick or point turner to make crisp corners
- Press and place at the center of the back of your panel, about 3″ down from the top (after pressing and before placing, you can also choose to topstitch the top for a nice addition, refer to picture above for reference for placement)
- Sew into place around the three pocket edges backstitching at the tops (2 sides and bottom). I used a fancy stitch because the stitching would be seen at the front of the panel
The quilted panel is all ready!
Prep the Front of the Zipper Pouch
Next, it’s time to build the front of the zipper pouch. We want to build it a little bigger than the back panel so that we can trim it when we are ready to sew everything together. It will look like this when you are done:

Working with Vinyl
Vinyl can be tricky when sewing, it’s make-up immediately creates friction with your sewing foot and often the bed of your machine. I place tissue paper underneath the vinyl to reduce the tendency of this happening and then tear it off after I’m done sewing a seam:
Add a Binding Strip to Top of Vinyl:
- First, take a piece of vinyl, I started with a piece that was: 12 1/2″ x 13″
- Fold together a 2 1/4″ x 12 1/2″ strip of fabric wrong sides together lengthwise and press (like a small binding strip)
- Line up raw edges of binding strip with the top of vinyl and sew in place using a 1/4″ seam allowance
- Fold the binding over to the front and sew in place with a 1/8″ seam allowance, this is your finished vinyl binding
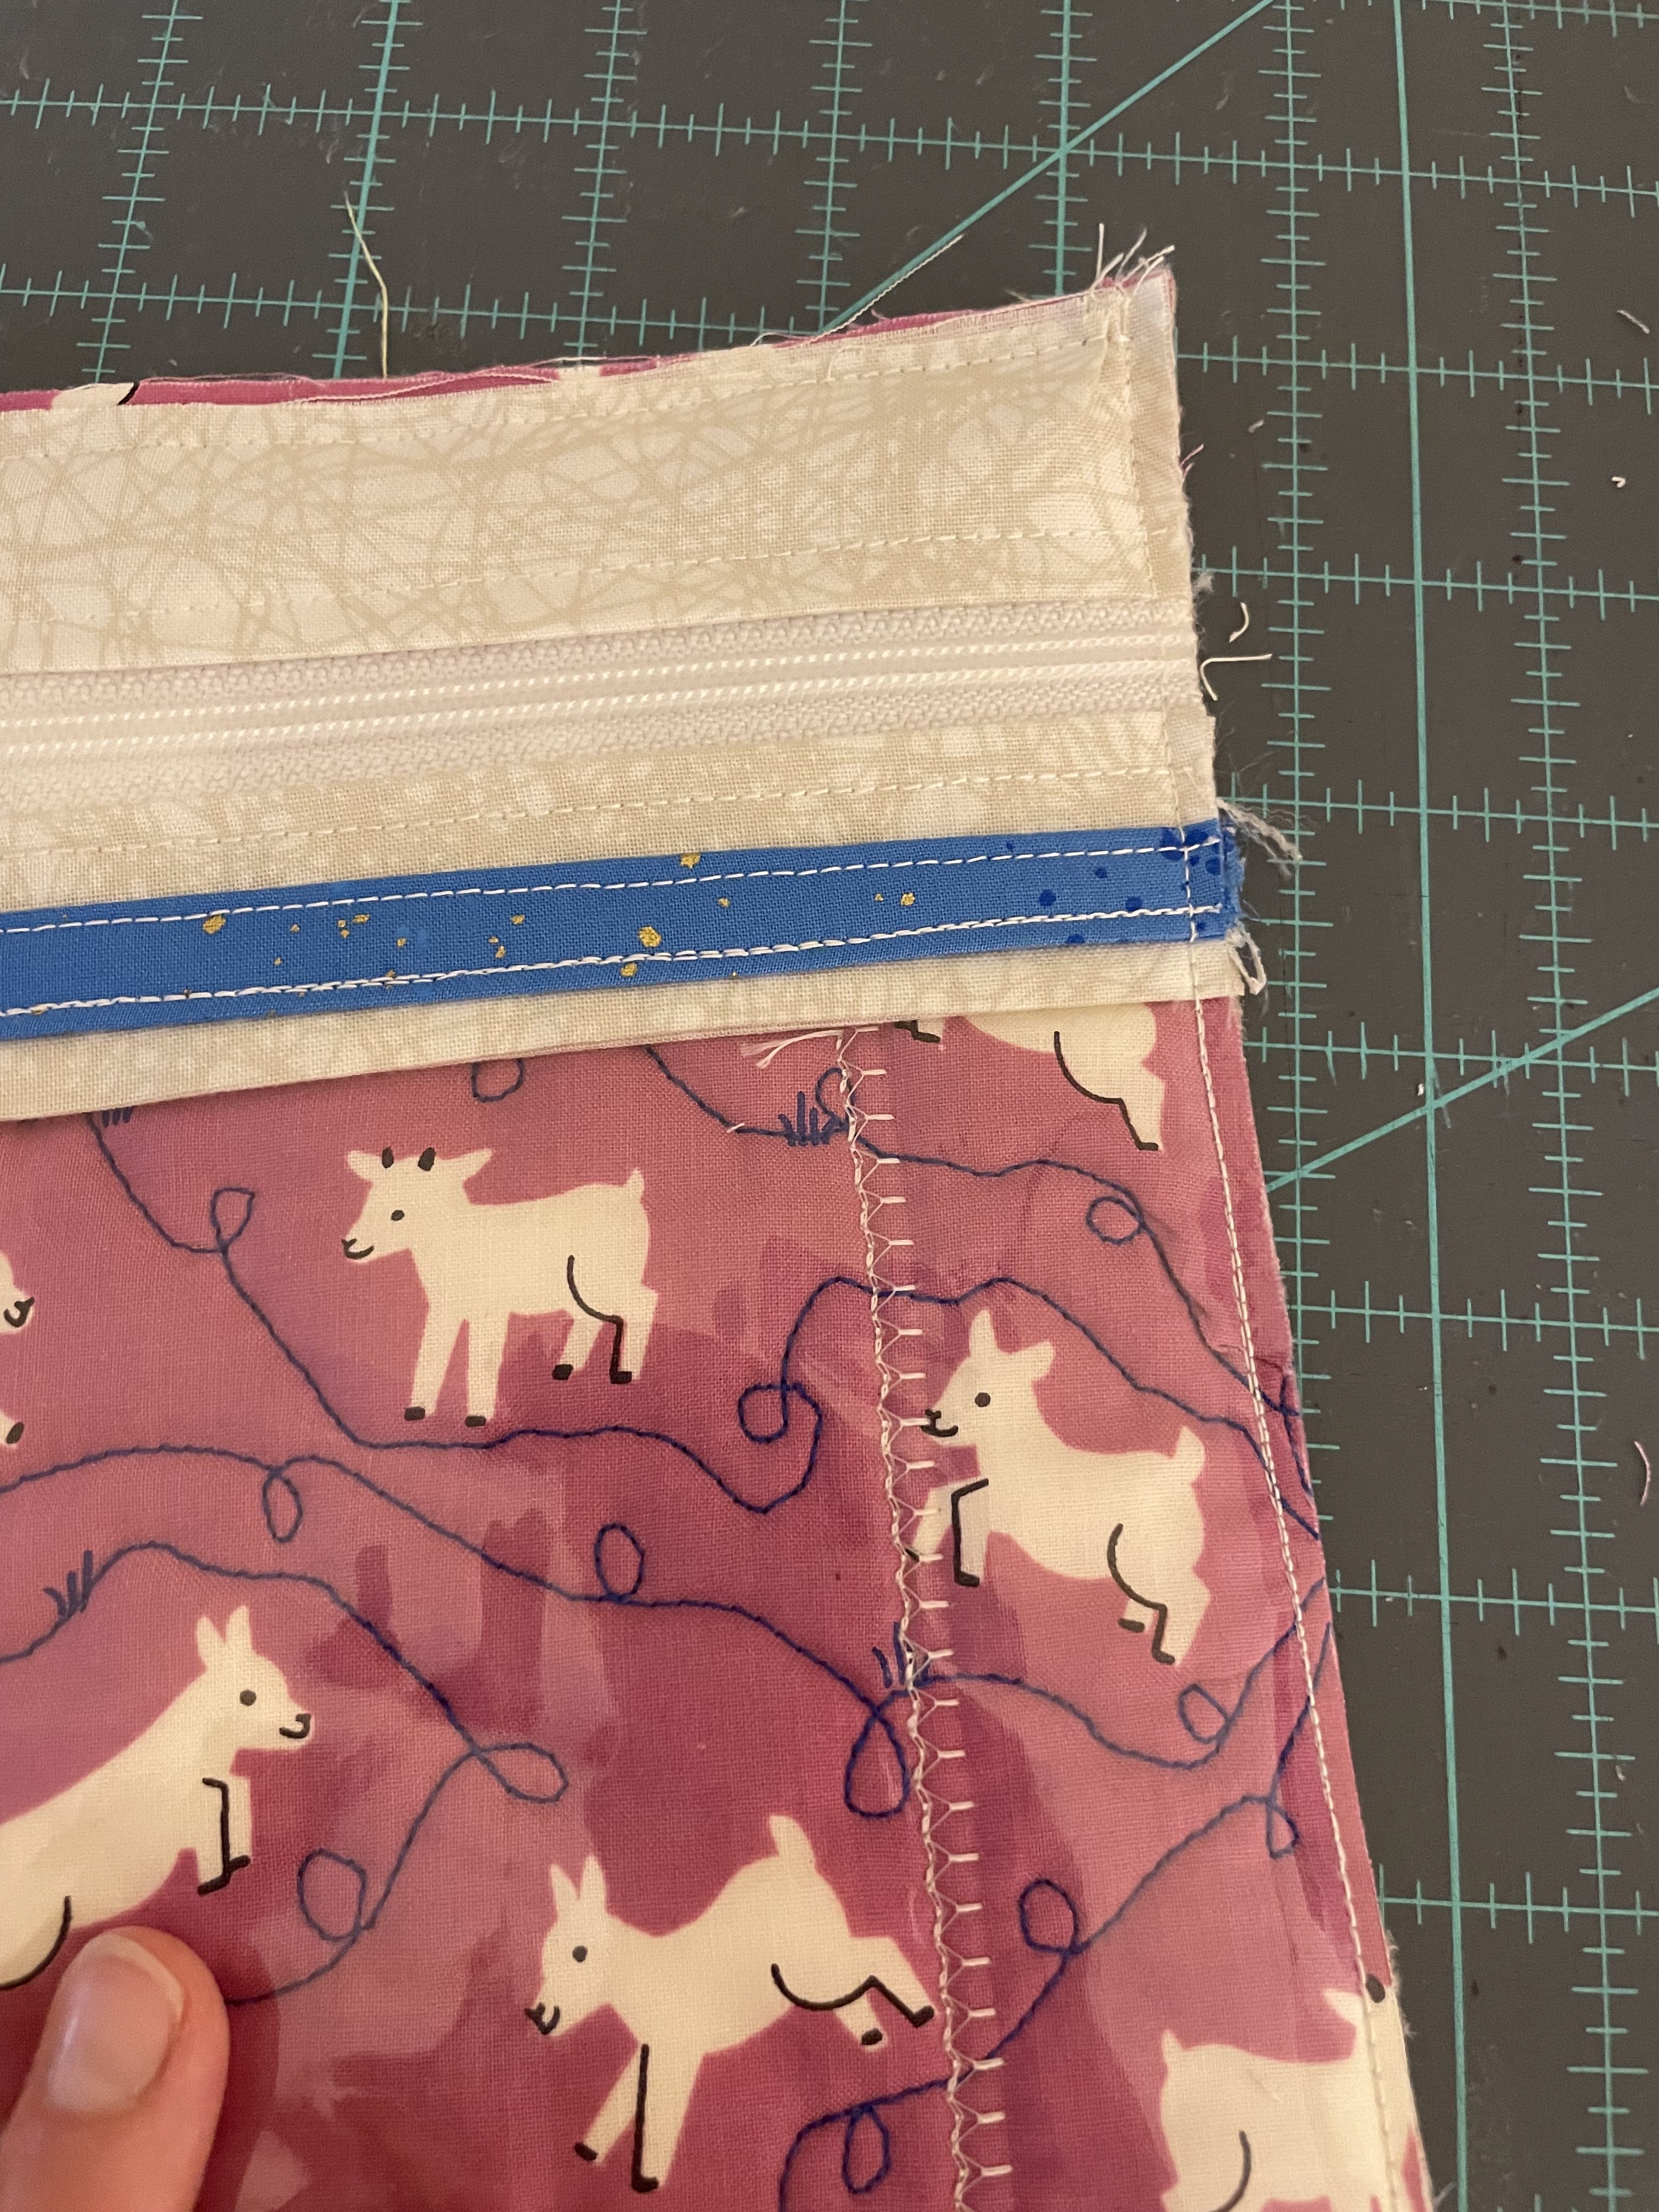
- Optional flare: I then made a little detail strip to add some pizazz by folding a 4″ x 15″ fabric right sides together in half lengthwise and sewing with a 1/4″ seam allowance along the raw edge. I turned it right side out and pressed before sewing it underneath the top binding edge of vinyl. You will notice that when I added it, I used a 1/8″ seam allowance on the other side of the vinyl binding to sew it in place. (Look at the example of the front zipper panel above)


Adding a Zipper
These days, adding a zipper is quite simple because we like to use some strips on both sides to make it easier. Adding the optional flare in step 5 above helps with this. I also love using By Annie’s Zippers by Yard. I first cut the zipper and sew it in and then add the zipper pull. You will need to cut your zipper a little larger than the panel to do this.
- Using a 16″ zipper, place right side up and center the vinyl (with binding and optional flare) right sides up on top. I usually use wonder clips to clip in place
- Sew the zipper in place with a 1/8″ seam allowance
- I coordinated the same fabric that I used for the optional flare, pressing a 4″ x 16 1/2″ strip wrong sides together
- Place top of the zipper right side up with folded edge of pressed strip from step 3 centered on top of zipper
- Sew the zipper in place with a 1/8″ seam allowance
- If you are using a zipper by the yard strip of zipper, it’s time to thread the zipper pull and teeth together before you trim everything
Trim Front Panel and Sew Panels Together
Remember we made our Front Zipper panel a little oversized to make sure it was big enough. So it’s time to trim it to the same size as your panel and sew it all together. You’ll see I sewed it with a 1/8″ seam allowance all the way around. Be sure to move the zipper to the middle of the pouch as you do this, so that it is out of the way.
Add Binding
Once you have it together, it’s time to add the binding. I used a 2 1/4″ binding strip of made up of smaller scraps, you’ll want to press it wrong sides together lengthwise.
Then, sew it with a 1/4″ seam allowance on the back side of the zipper pouch.
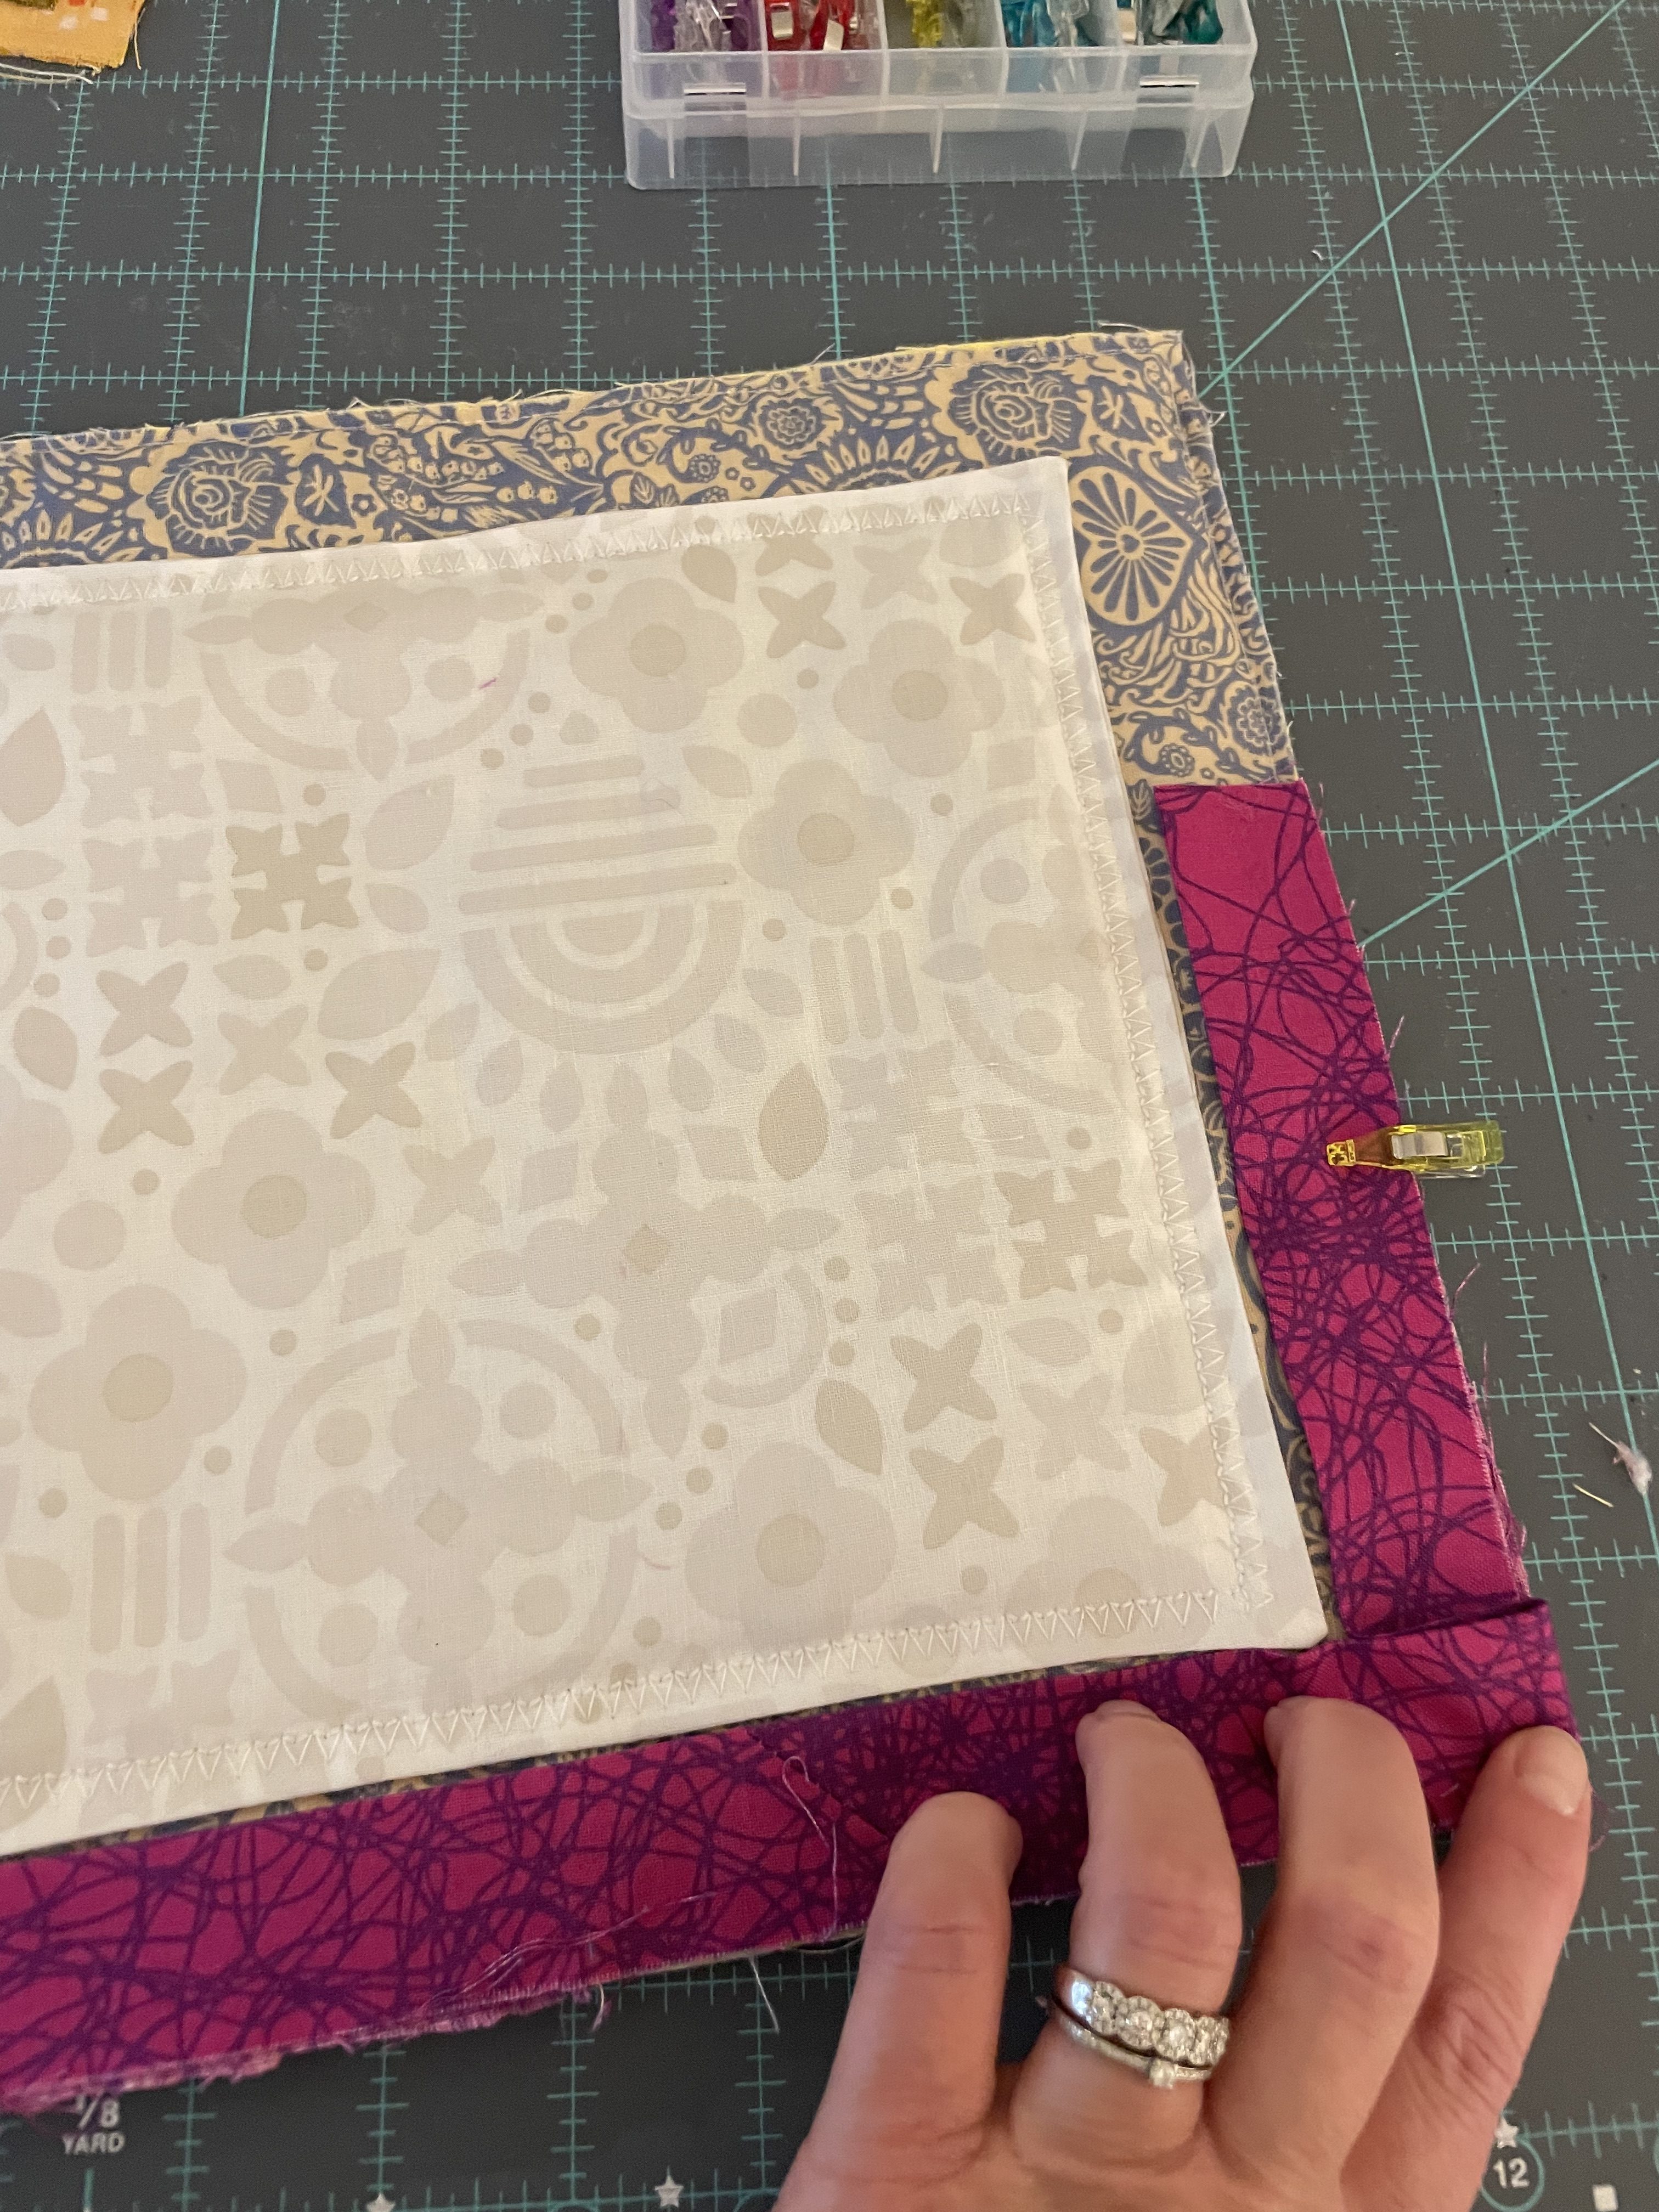
Once it is sewn in place, you’ll bring the binding around to the front and topstitch in place. That is the final step and then you can enjoy the fruit of your hard work and put your IPAD inside, zip it up, and add a book at the back. 😉
Until the next doodle fun free motion quilting and project, <3 Kate
Find more tutorials.